Sourcing from Ghost
Ghost is an open source, professional publishing platform built on a modern Node.js technology stack — designed for teams who need power, flexibility and performance - used by Apple, NASA, Sky News, OpenAI & many more.
It comes with all the benefits of modern, centralised Headless CMS platforms, with the added benefit of being released completely for free under an MIT license, so you have total ownership and control of it without needing to depend on a third party back-end.
This guide will walk you through using Gatsby with the Ghost Content API.
Quick start
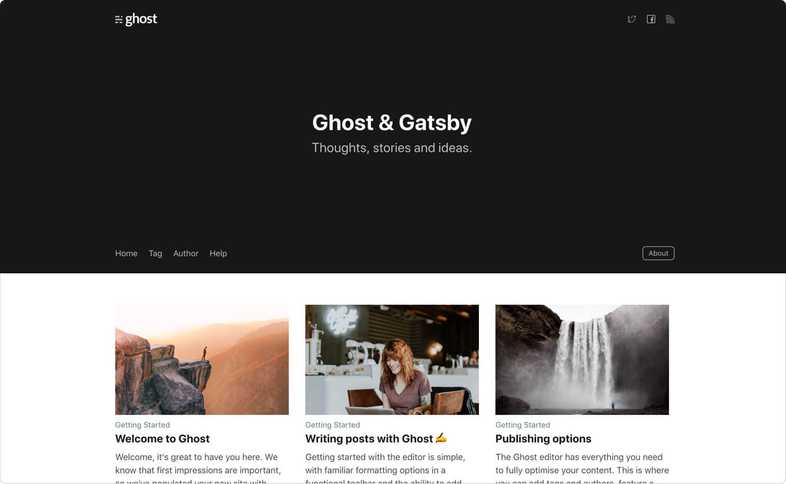
The fastest way to get started is with the official Gatsby Starter Ghost repository, which contains a light scaffolding of queries and templates to get a brand new site up and running.
- Repository: https://github.com/tryghost/gatsby-starter-ghost
- Demo: https://gatsby.ghost.org
Install & setup
If you prefer to start from scratch or integrate the Ghost Content API into an existing site, you can set up the Gatsby Source Ghost plugin.
npm install --save gatsby-source-ghostConfiguration
// These are working demo credentials, try them out!

module.exports = {
  plugins: [
    {
      resolve: `gatsby-source-ghost`,
      options: {
        apiUrl: `https://gatsby.ghost.io`,
        contentApiKey: `9cc5c67c358edfdd81455149d0`,
      },
    },
  ],
}
Generating pages
Once the source plugin is set up, you can use the createPages API in gatsby-node.js to create queries on your Ghost data with GraphQL. In this example, Gatsby iterates over each post returned by the Ghost API and generates a new page with that data, using the post.js template file.
There are several ways to structure queries depending on how you prefer to work, but here’s a very minimal example:
const path = require(`path`)

exports.createPages = ({ graphql, actions }) => {
  const { createPage } = actions
  const createPosts = new Promise((resolve, reject) => {
    const postTemplate = path.resolve(`./src/templates/post.js`)
    resolve(
      graphql(`
        {
          allGhostPost(sort: { order: ASC, fields: published_at }) {
            edges {
              node {
                slug
              }
            }
          }
        }
      `).then(result => {
        if (result.errors) {
          return reject(result.errors)
        }

        if (!result.data.allGhostPost) {
          return resolve()
        }

        const items = result.data.allGhostPost.edges

        items.forEach(({ node }) => {
          node.url = `/${node.slug}/`

          createPage({
            path: node.url,
            component: path.resolve(postTemplate),
            context: {
              slug: node.slug,
            },
          })
        })
        return resolve()
      })
    )
  })

  return Promise.all([createPosts])
}
Outputting data
Then, within the post.js template, you can determine exactly how and where you want to output data on each page. Again, you’ll use GraphQL to query individual fields, so a simple example looks something like this:
import React from "react"
import { graphql } from "gatsby"

const Post = ({ data }) => {
  const post = data.ghostPost
  return (
    <>
      <article className="post">
        {post.feature_image ? (
          <img src={post.feature_image} alt={post.title} />
        ) : null}
        <h1>{post.title}</h1>
        <section dangerouslySetInnerHTML={{ __html: post.html }} />
      </article>
    </>
  )
}

export default Post

export const postQuery = graphql`
  query($slug: String!) {
    ghostPost(slug: { eq: $slug }) {
      id
      title
      slug
      feature_image
    }
  }
`
Wrapping up
You should have a broad understanding of how Gatsby and the Ghost Content API work together now in order to use Ghost as a headless CMS. Your writers can enjoy the slick administration experience, while your development team can keep using their ideal tooling. Everyone wins!
What to read next
Here are some further resources and reading material to help you get started with some more advanced examples and use-cases:
- Gatsby + Ghost announcement post
- More info about Ghost as a Headless CMS
- Official Gatsby Starter for Ghost
- Official Gatsby Source Plugin for Ghost
- Official Ghost developer docs
Edit this page on GitHub
