Sourcing from the Filesystem
This guide will walk you through sourcing data from the filesystem.
Setup
This guide assumes that you have a Gatsby project set up. If you need to set up a project, please reference the Quick Start Guide.
It will also be useful if you are familiar with Graph_i_QL, a tool that helps you structure your queries correctly.
Using gatsby-source-filesystem
gatsby-source-filesystem is the Gatsby plugin for creating File nodes from the file system.
Install the plugin at the root of your Gatsby project:
npm install --save gatsby-source-filesystemThen add it to your project’s gatsby-config.js file:
module.exports = {
  siteMetadata: {
    title: `Your Site Name`,
  },
  plugins: [
    {      resolve: `gatsby-source-filesystem`,      options: {        name: `src`,        path: `${__dirname}/src/`,      },    },  ],
}
Save the gatsby-config.js file, and restart the Gatsby development server.
Open up Graph_i_QL.
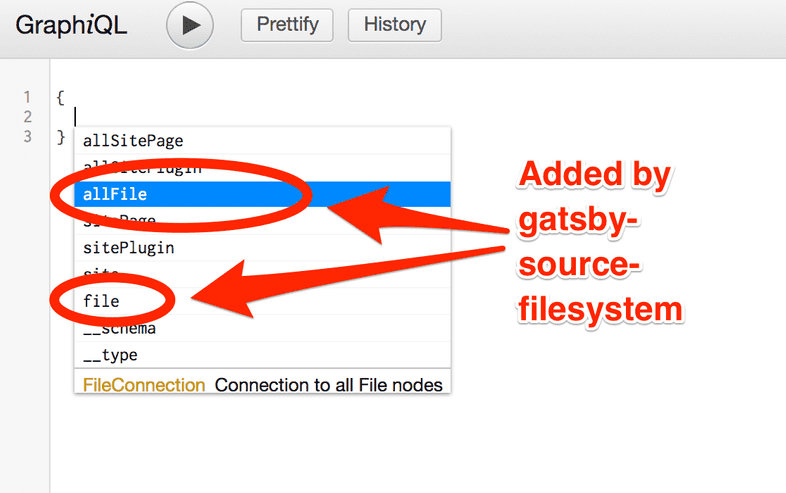
If you bring up the autocomplete window, you’ll see:
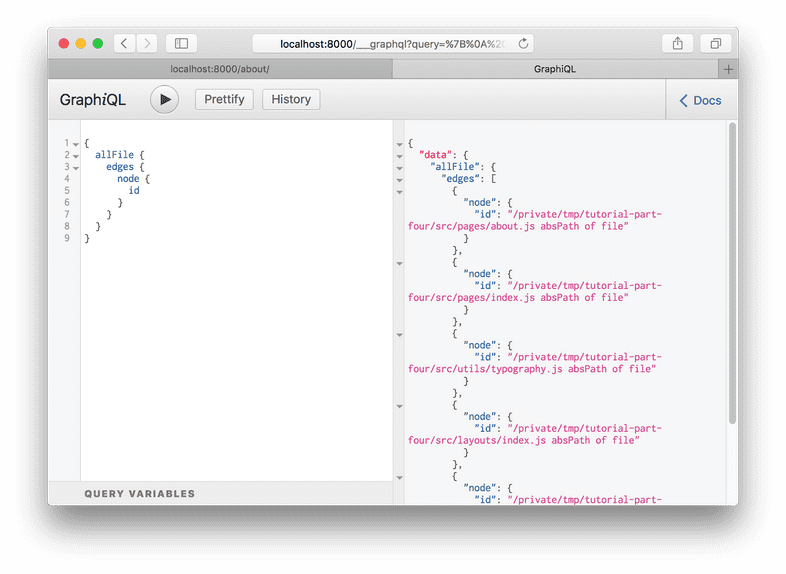
Hit Enter on allFile then type Ctrl + Enter to run a
query.
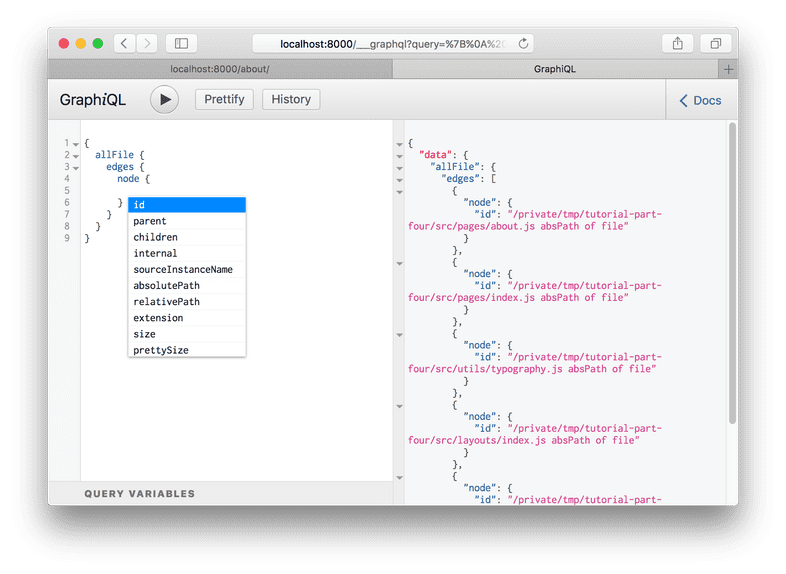
Delete the id from the query and bring up the autocomplete again (Ctrl +
Space).
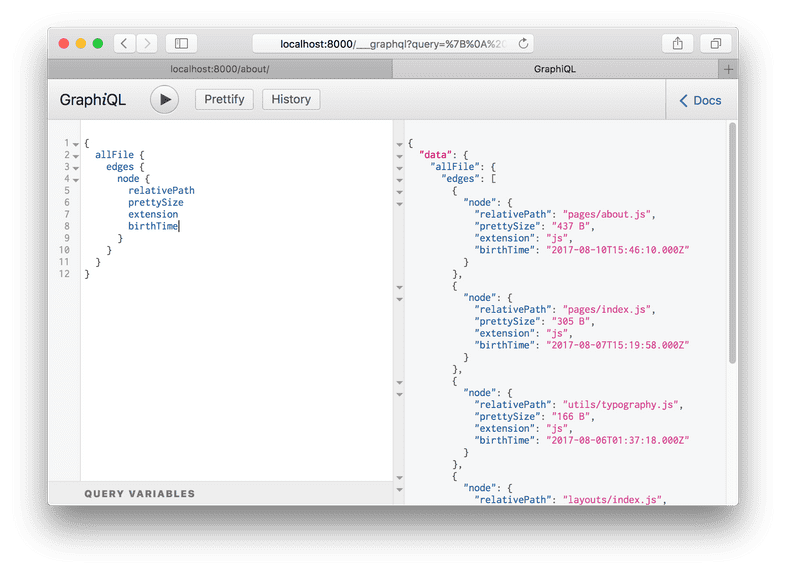
Try adding a number of fields to your query, pressing Ctrl + Enter each time to re-run the query. You’ll see something like this:
The result is an array of File “nodes” (node is a fancy name for an object in a “graph”). Each File object has the fields you queried for.
Transforming File nodes
Once files have been sourced, various “transformer” plugins in the Gatsby ecosystem can then be used to transform File nodes into various other types of data. For example, a JSON file can be sourced using gatsby-source-filesystem, and then the resulting File nodes can be transformed into JSON nodes using gatsby-transformer-json.
Further reference and examples
For further reference, you may be interested in checking out the gatsby-source-filesystem package README, and various official and community starters that use the plugin.
Edit this page on GitHub


