Introduction to Styling in Gatsby
Welcome to part two of the Gatsby tutorial!
What’s in this tutorial?
In this part, you’re going to explore options for styling Gatsby websites and dive deeper into using React components for building sites.
Using global styles
Every site has some sort of global style. This includes things like the site’s typography and background colors. These styles set the overall feel of the site — much like the color and texture of a wall sets the overall feel of a room.
Creating global styles with standard CSS files
One of the most straightforward ways to add global styles to a site is using a global .css stylesheet.
✋ Create a new Gatsby site
Start by creating a new Gatsby site. It may be best (especially if you’re new to the command line) to close the terminal windows you used for part one and start a new terminal session for part two.
Open a new terminal window, create a new “hello world” gatsby site, and start the development server:
gatsby new tutorial-part-two https://github.com/gatsbyjs/gatsby-starter-hello-world
cd tutorial-part-two
You now have a new Gatsby site (based on the Gatsby “hello world” starter) with the following structure:
├── package.json
├── src
│   └── pages
│       └── index.js
✋ Add styles to a css file
- Create a
.cssfile in your new project:
cd src
mkdir styles
cd styles
touch global.css
Note: Feel free to create these directories and files using your code editor, if you’d prefer.
You should now have a structure like this:
├── package.json
├── src
│   └── pages
│       └── index.js
│   └── styles
│ └── global.css- Define some styles in the
global.cssfile:
html {
  background-color: lavenderblush;
}
Note: The placement of the example css file in a
/src/styles/folder is arbitrary.
✋ Include the stylesheet in gatsby-browser.js
- Create the
gatsby-browser.js
cd ../..
touch gatsby-browser.js
Your project’s file structure should now look like this:
├── package.json
├── src
│   └── pages
│       └── index.js
│   └── styles
│       └── global.css
├── gatsby-browser.js
💡 What is
gatsby-browser.js? Don’t worry about this too much for now — For now, know thatgatsby-browser.jsis one of a handful of special files that Gatsby looks for and uses (if they exist). Here, the naming of the file is important. If you do want to explore more now, check out the docs.
- Import your recently-created stylesheet in the
gatsby-browser.jsfile:
import "./src/styles/global.css"

// or:
// require('./src/styles/global.css')
Note: Both CommonJS (
require) and ES Module (import) syntax work here. If you’re not sure which to choose, we useimportmost of the time.
- Start the development server:
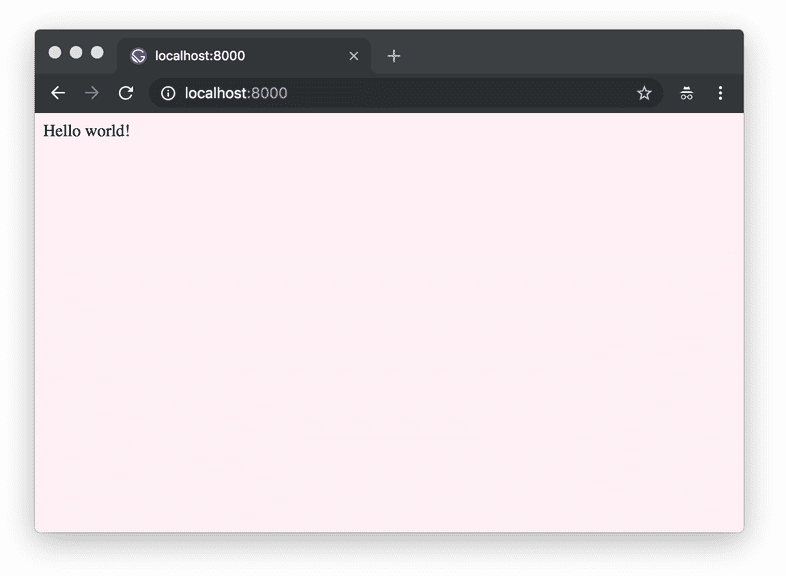
gatsby developIf you take a look at your project in the browser, you should see a lavender background applied to the “hello world” starter:
Tip: This part of the tutorial has focused on the quickest and most straightforward way to get started styling a Gatsby site — importing standard CSS files directly, using
gatsby-browser.js. In most cases, the best way to add global styles is with a shared layout component. Check out the docs for more on that approach.
Using component-scoped CSS
So far, we’ve talked about the more traditional approach of using standard css stylesheets. Now, we’ll talk about various methods of modularizing CSS to tackle styling in a component-oriented way.
CSS Modules
Let’s explore CSS Modules. Quoting from the CSS Module homepage:
A CSS Module is a CSS file in which all class names and animation names are scoped locally by default.
CSS Modules are very popular because they let you write CSS normally but with a lot more safety. The tool automatically generates unique class and animation names, so you don’t have to worry about selector name collisions.
Gatsby works out of the box with CSS Modules. This approach is highly recommended for those new to building with Gatsby (and React in general).
✋ Build a new page using CSS Modules
In this section, you’ll create a new page component and style that page component using a CSS Module.
First, create a new Container component.
- Create a new directory at
src/componentsand then, in this new directory, create a file namedcontainer.jsand paste the following:
import React from "react"
import containerStyles from "./container.module.css"

export default ({ children }) => (
  <div className={containerStyles.container}>{children}</div>
)
You’ll notice we imported a css module file named container.module.css. Let’s create that file now.
- In the same directory (
src/components), create acontainer.module.cssfile and copy/paste the following:
.container {
  margin: 3rem auto;
  max-width: 600px;
}
You’ll notice that the file name ends with .module.css instead of the usual .css. This is how you tell Gatsby that this CSS file should be processed as a CSS module rather than plain CSS.
- Create a new page component by creating a file at
src/pages/about-css-modules.js:
import React from "react"

import Container from "../components/container"

export default () => (
  <Container>
    <h1>About CSS Modules</h1>
    <p>CSS Modules are cool</p>
  </Container>
)
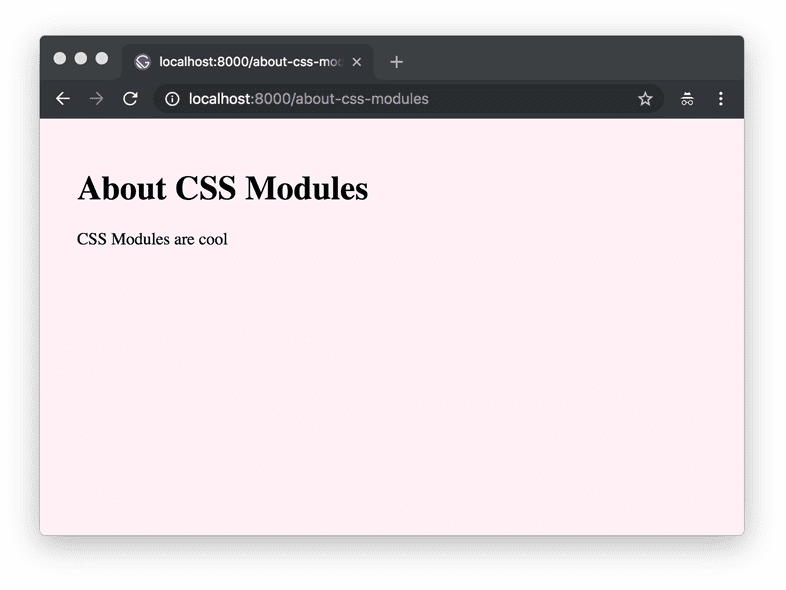
Now, if you visit http://localhost:8000/about-css-modules/, your page should look something like this:
✋ Style a component using CSS Modules
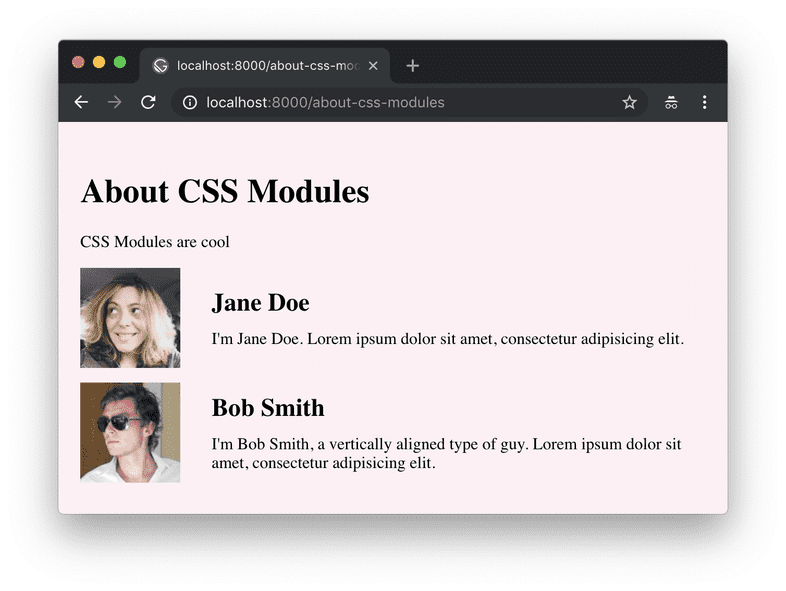
In this section, you’ll create a list of people with names, avatars, and short Latin biographies. You’ll create a <User /> component and style that component using a CSS module.
Create the file for the CSS at
src/pages/about-css-modules.module.css.Paste the following into the new file:
.user {
  display: flex;
  align-items: center;
  margin: 0 auto 12px auto;
}

.user:last-child {
  margin-bottom: 0;
}

.avatar {
  flex: 0 0 96px;
  width: 96px;
  height: 96px;
  margin: 0;
}

.description {
  flex: 1;
  margin-left: 18px;
  padding: 12px;
}

.username {
  margin: 0 0 12px 0;
  padding: 0;
}

.excerpt {
  margin: 0;
}- Import the new
src/pages/about-css-modules.module.cssfile into theabout-css-modules.jspage you created earlier by editing the first few lines of the file like so:
import React from "react"
import styles from "./about-css-modules.module.css"import Container from "../components/container"

console.log(styles)
The console.log(styles) code will log the resulting import so you can see the result of your processed ./about-css-modules.module.css file. If you open the developer console (using e.g. Firefox or Chrome’s developer tools) in your browser, you’ll see:
If you compare that to your CSS file, you’ll see that each class is now a key in the imported object pointing to a long string e.g. avatar points to src-pages----about-css-modules-module---avatar---2lRF7. These are the class names CSS Modules generates. They’re guaranteed to be unique across your site. And because you have to import them to use the classes, there’s never any question about where some CSS is being used.
- Create a
Usercomponent.
Create a new <User /> component inline in the about-css-modules.js page
component. Modify about-css-modules.js so it looks like the following:
import React from "react"
import styles from "./about-css-modules.module.css"
import Container from "../components/container"

console.log(styles)

const User = props => (  <div className={styles.user}>    <img src={props.avatar} className={styles.avatar} alt="" />    <div className={styles.description}>      <h2 className={styles.username}>{props.username}</h2>      <p className={styles.excerpt}>{props.excerpt}</p>    </div>  </div>)
export default () => (
  <Container>
    <h1>About CSS Modules</h1>
    <p>CSS Modules are cool</p>
    <User      username="Jane Doe"      avatar="https://s3.amazonaws.com/uifaces/faces/twitter/adellecharles/128.jpg"      excerpt="I'm Jane Doe. Lorem ipsum dolor sit amet, consectetur adipisicing elit."    />    <User      username="Bob Smith"      avatar="https://s3.amazonaws.com/uifaces/faces/twitter/vladarbatov/128.jpg"      excerpt="I'm Bob Smith, a vertically aligned type of guy. Lorem ipsum dolor sit amet, consectetur adipisicing elit."    />  </Container>
)
Tip: Generally, if you use a component in multiple places on a site, it should be in its own module file in the
componentsdirectory. But, if it’s used only in one file, create it inline.
The finished page should now look like:
CSS-in-JS
CSS-in-JS is a component-oriented styling approach. Most generally, it is a pattern where CSS is composed inline using JavaScript.
Using CSS-in-JS with Gatsby
There are many different CSS-in-JS libraries and many of them have Gatsby plugins already. We won’t cover an example of CSS-in-JS in this initial tutorial, but we encourage you to explore what the ecosystem has to offer. There are mini-tutorials for two libraries, in particular, Emotion and Styled Components.
Suggested reading on CSS-in-JS
If you’re interested in further reading, check out Christopher “vjeux” Chedeau’s 2014 presentation that sparked this movement as well as Mark Dalgleish’s more recent post “A Unified Styling Language”.
Other CSS options
Gatsby supports almost every possible styling option (if there isn’t a plugin yet for your favorite CSS option, please contribute one!)
and more!
What’s coming next?
Now continue on to part three of the tutorial, where you’ll learn about Gatsby plugins and layout components.
Edit this page on GitHub


